Felt making workshop – Bishkek
One of the things I love to do while travelling is trying my hand at any local handcraft I come across. I still wear the silver ring I made in Nicaragua, travel with the scarf I made for myself in El Salvador, and will forever be in awe of the women who make the beautiful and intricate textiles in Guatemala – just to highlight a few. I was therefore very excited to join Bishkek Walks on another of their amazing experiences – this one to make my own felt product.
Felt making was one of the most important traditional skills in Kyrgyzstan. In particular, the technique of Ала кийиз (Ala-kiyiz) – literally “Multi-coloured felt” – was used to create clothing, as well as carpets and other everyday items for the yurts of the nomadic Kyrgyz. This is the technique we would be learning.
Our small group met at one of the many amazing coffee shops in central Bishkek, and Gulmira, a felt artist and our teacher, began by showing us some of the different products she’d made recently.
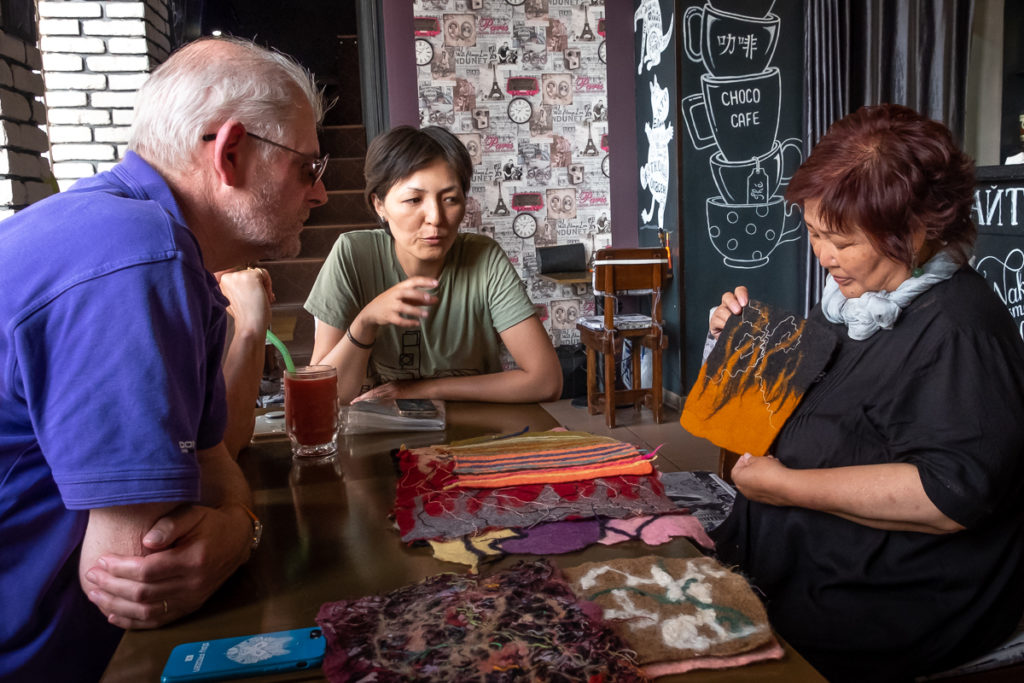
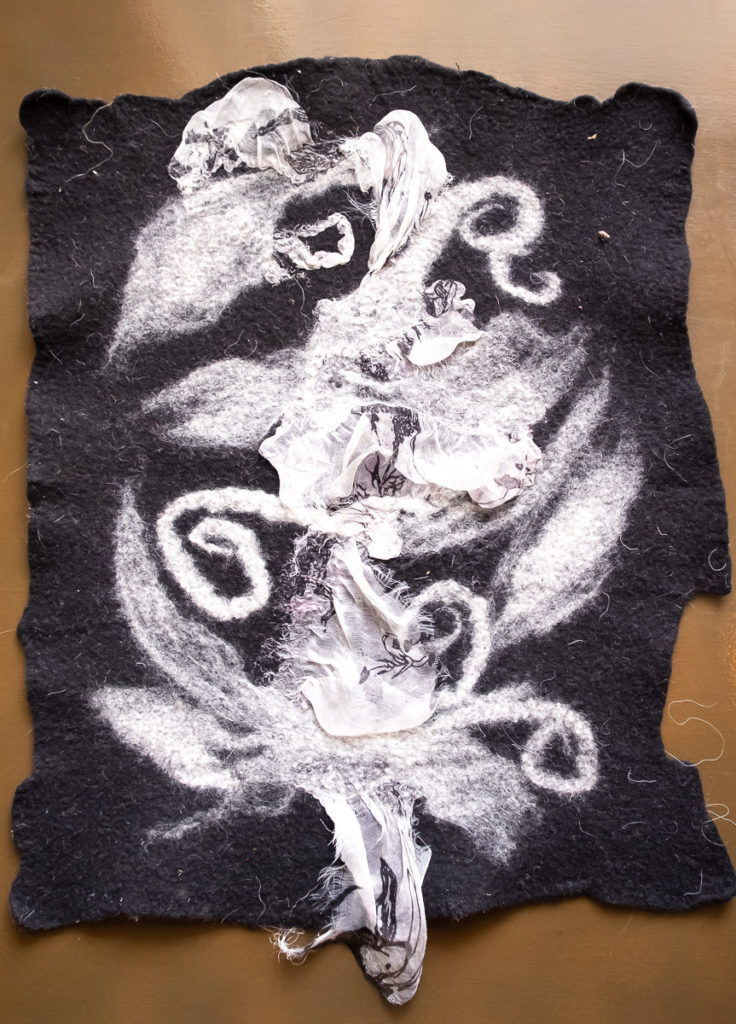
Gulmira actually has a degree in fine arts and, although the use of coloured thread and embroidery in felt work was traditionally used by the nomads, she takes it to another level for modern tastes.
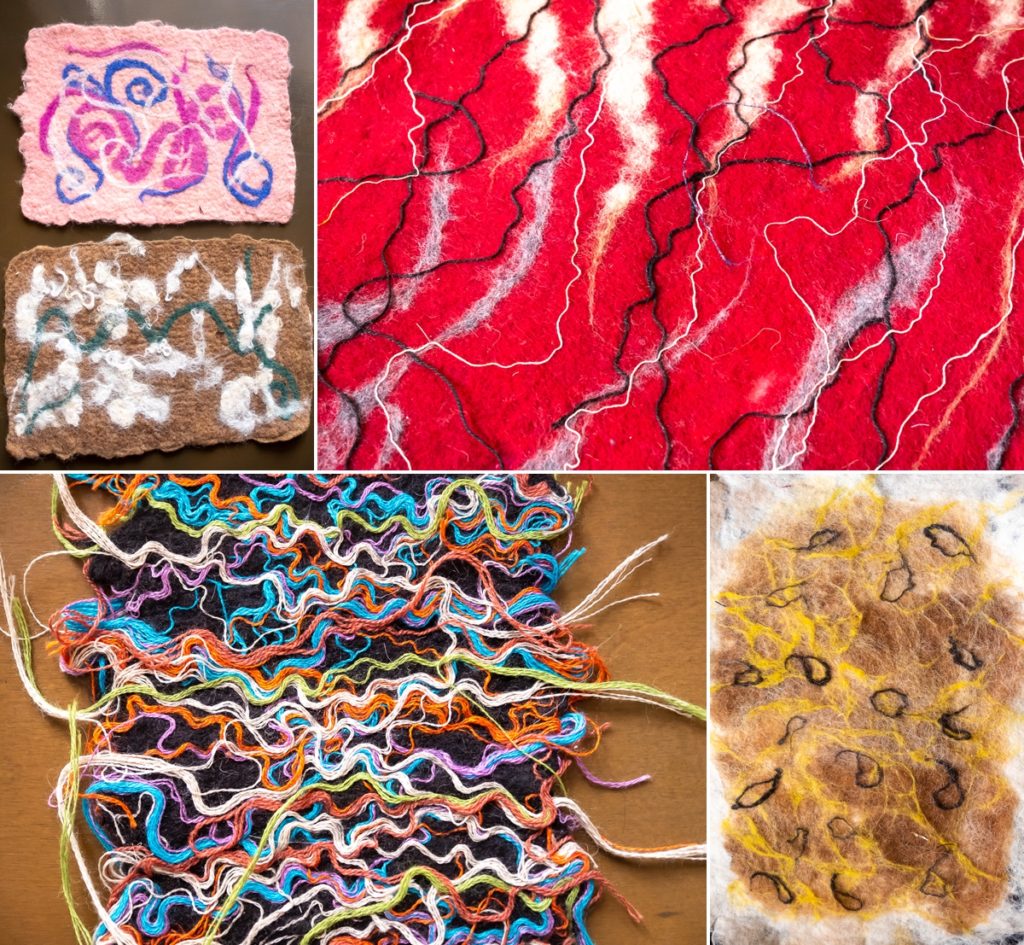
I particularly loved this one where she had incorporated the use of material as well for a very 3-dimensional artwork.
While she showed us the different pieces, Gulmira also talked about the history of carpets and felting in Kyrgyzstan. It is a big job (as we would soon discover), and she painted a lively picture of how the nomadic people would congregate and work together to assist with the preparation of felts (and other items), given the amount of work involved.
Soon enough, it was time for us to try our hand at making our own piece of felt artwork.
Step 1: Felt making workshop
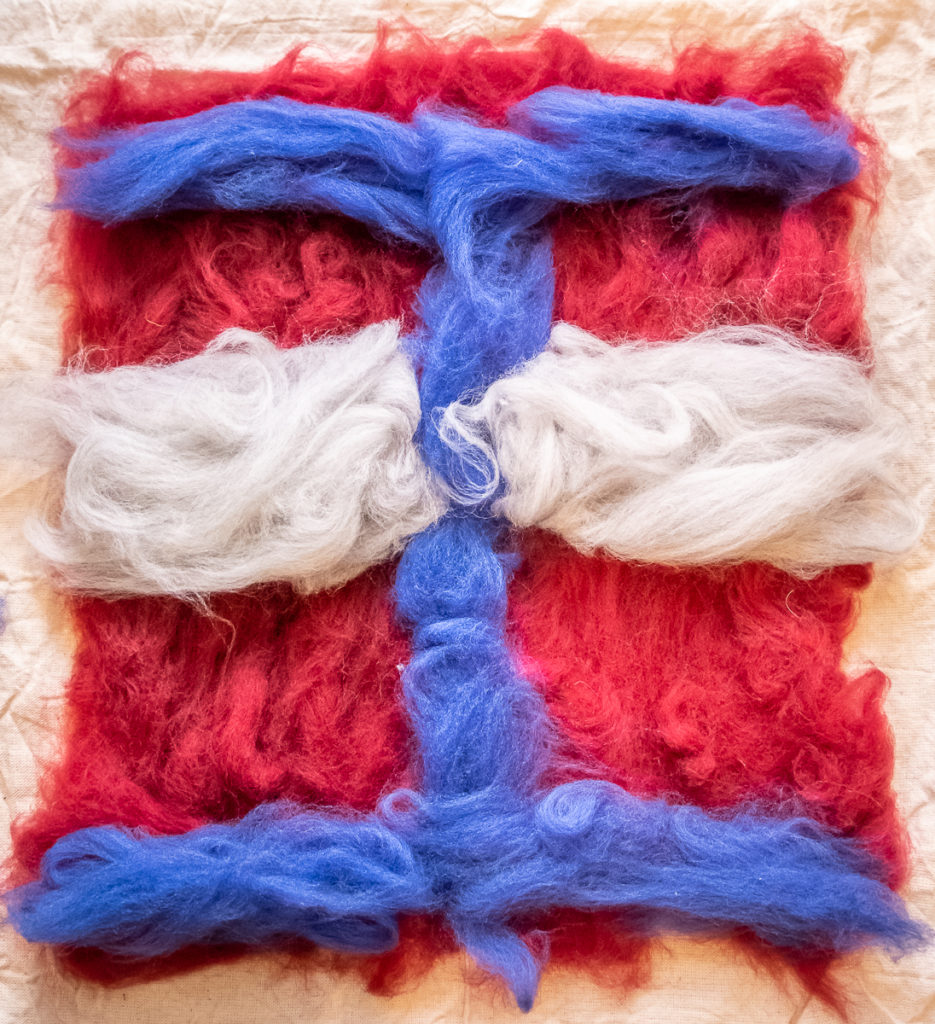
Choose your base colour. Gulmira had bought a large shopping bag full of wool that had been dyed different colours. I decided to go with a maroon base and blue highlights – two of my favourite colours.

Don’t worry – I’ll explain later. I, too, was intrigued as to the purpose of the washing up sponge and the soap!
Step 2: Felt making workshop
Lay a thick base for the felt by pulling the wool apart and layering the stretched fibres over the top of each other.

I think a video will work better to explain this step.
Step 3: Felt making workshop
Once you have a full, fluffy base-layer down, turn by 90 degrees and add another layer over the top. This could be another block colour, or you could choose to start bringing other colours in.
Step 4: Felt making workshop
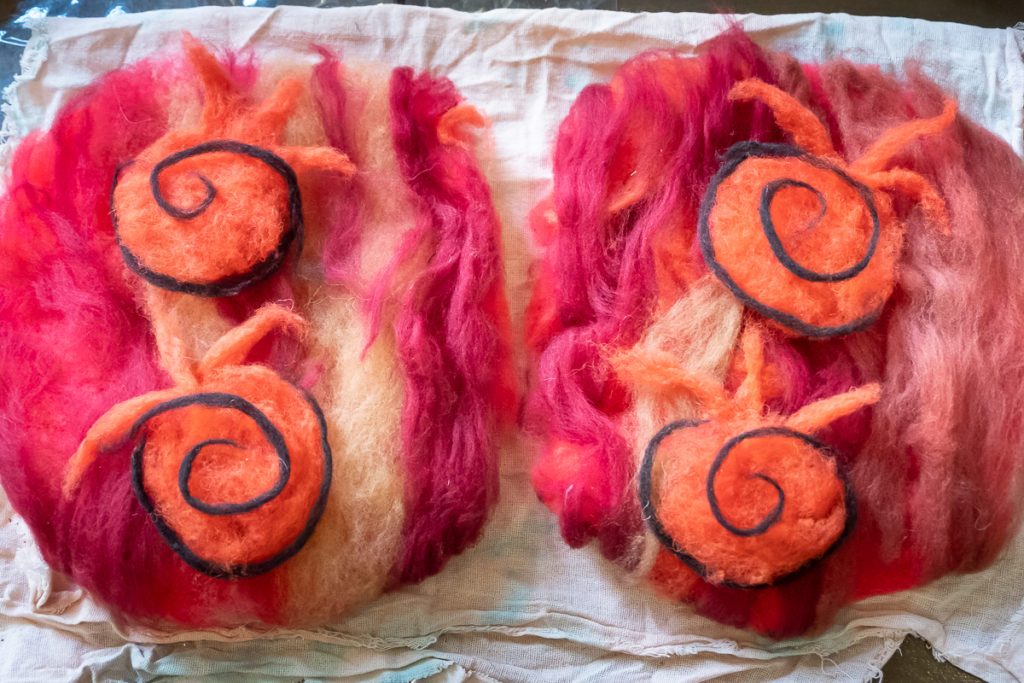
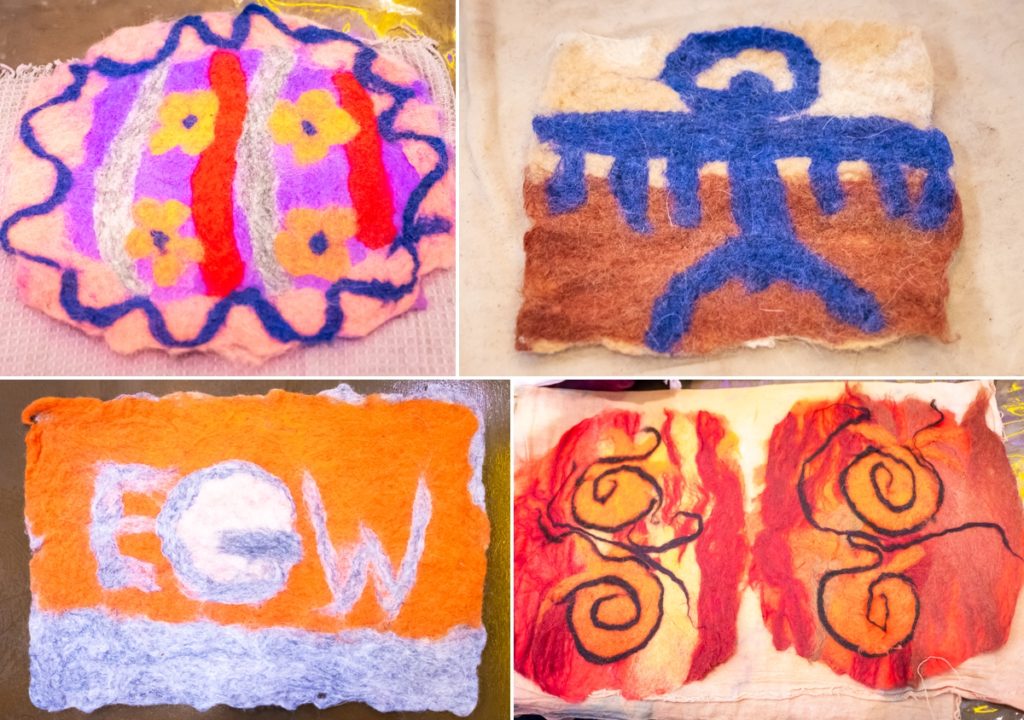
Add a final layer where you finish off the design with more intricate patterns if you wish. I decided not to get too fancy for my first attempt
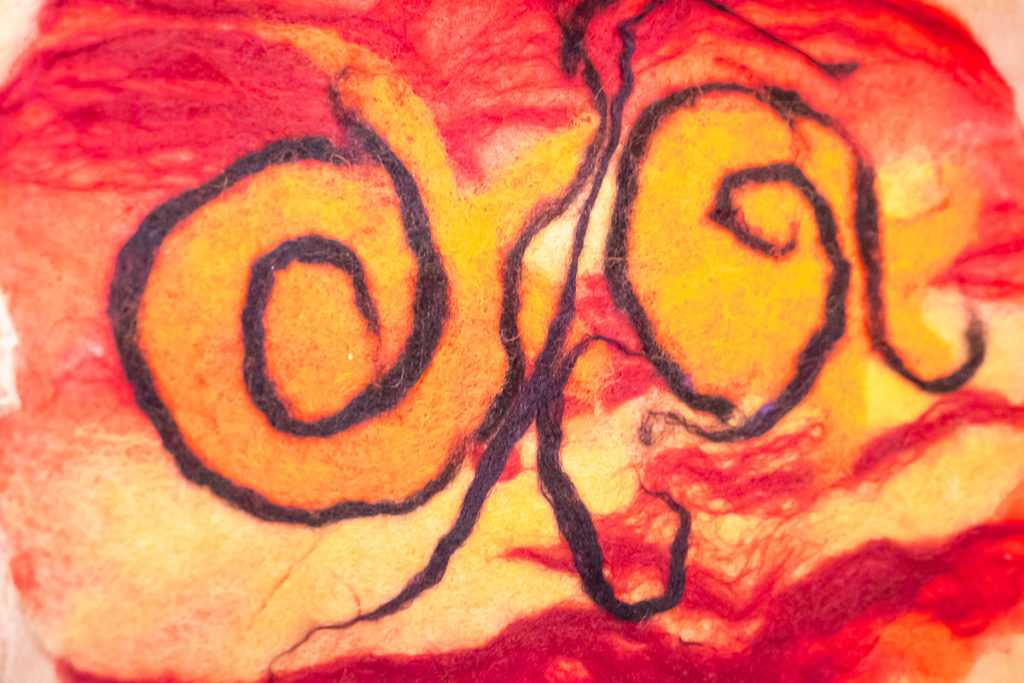
but Gulmira’s effort was very impressive! The orange-looking things are actually pomegranates – she has a whole collection of artworks based around these fruits. As you can see, the resulting mat of wool can be several centimeters thick!
Step 5: Felt making workshop
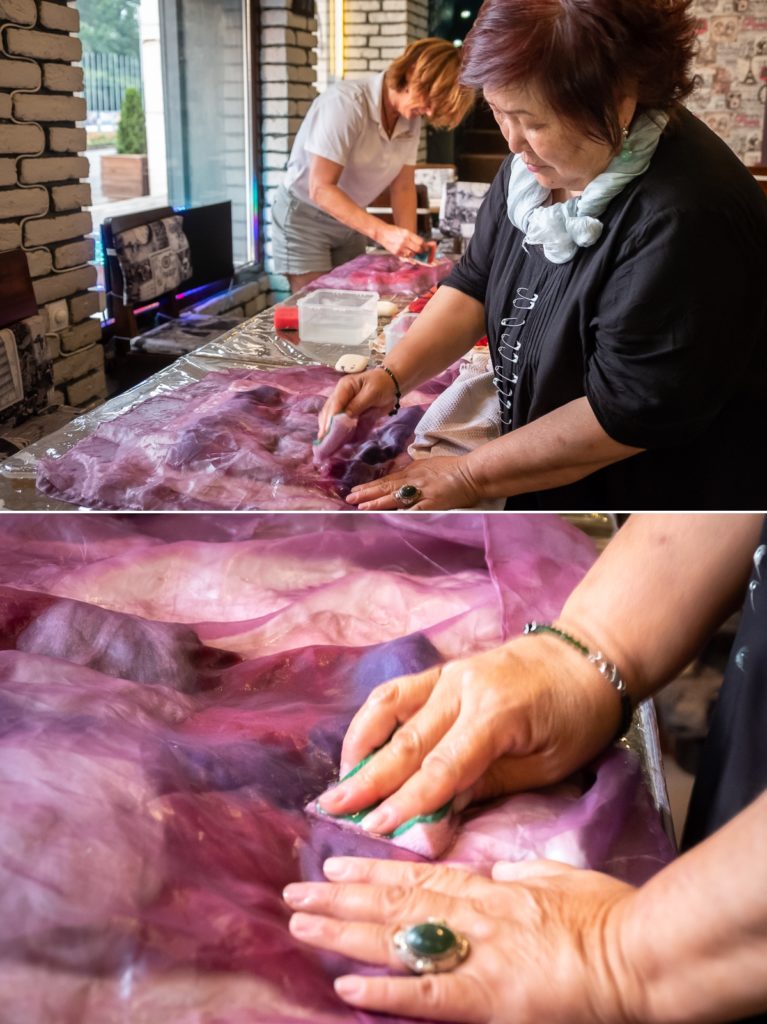
Lay fine gauze over the wool mat and wet thoroughly with hot water. The idea is to saturate the wool and compress it into a thin layer while retaining the design.
Step 6: Felt making workshop
Now the soap came into play. To help speed up the process of matting, we took the soap and rubbed it vigorously into the mat through the gauze. Again this helped compress the wool fibres and aid in their transformation into a self-supporting felt.
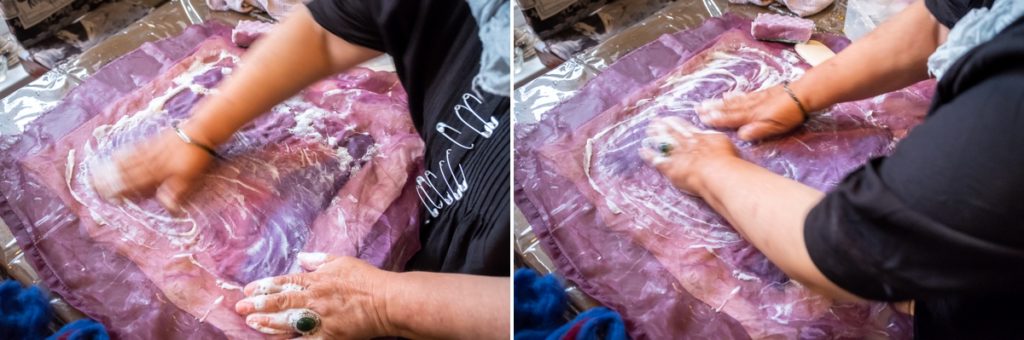
I have to admit, I couldn’t seem to make mine mat together very well and Gulmira was brilliant at helping me finally get it to work. I suspect my layering of the fibres was not as good as it should have been (I didn’t have enough fibres laid), but we got there in the end.
Step 7: Felt making workshop
The next step was to take the saturated felt, roll it up tightly, and squeeze out much of the excess water.
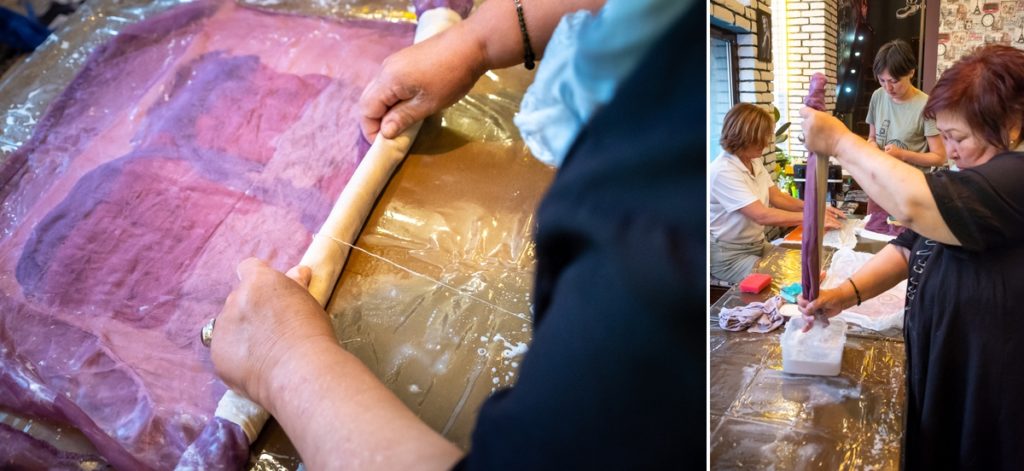
It was then time to roll it from every side to make it start to shrink. After going one round with the gauze still intact, we removed this layer and went again. After another round of rolling from all sides, we then carefully peeled the felt off the backing material and kept rolling – including diagonally now.
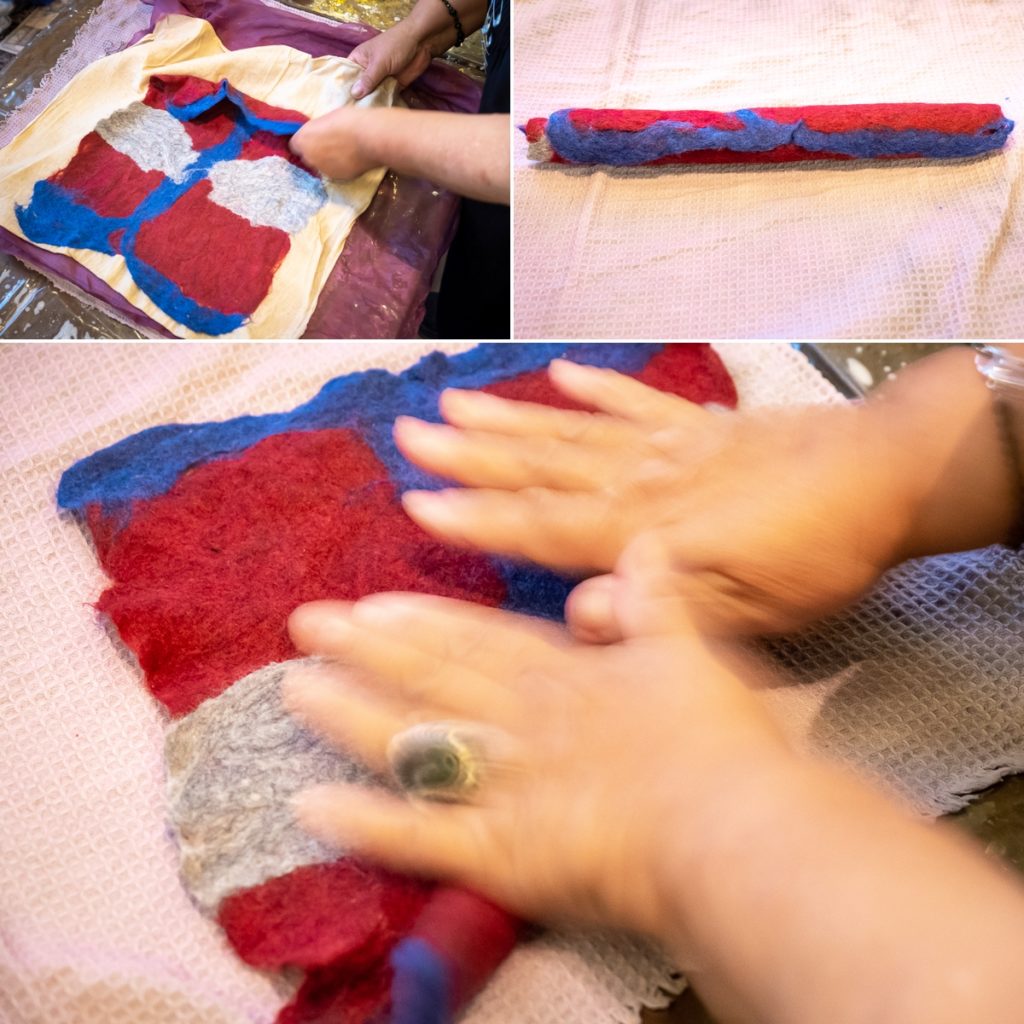
We were being quite delicate and precious with our felt when we started this step, but eventually Gulmira stepped in and showed us how vigorous and rough we could get with the material. Traditionally, the felt product would be rolled with hands and trodden on for several hours in order to mat the fibres together. We were being far too gentle it seems!
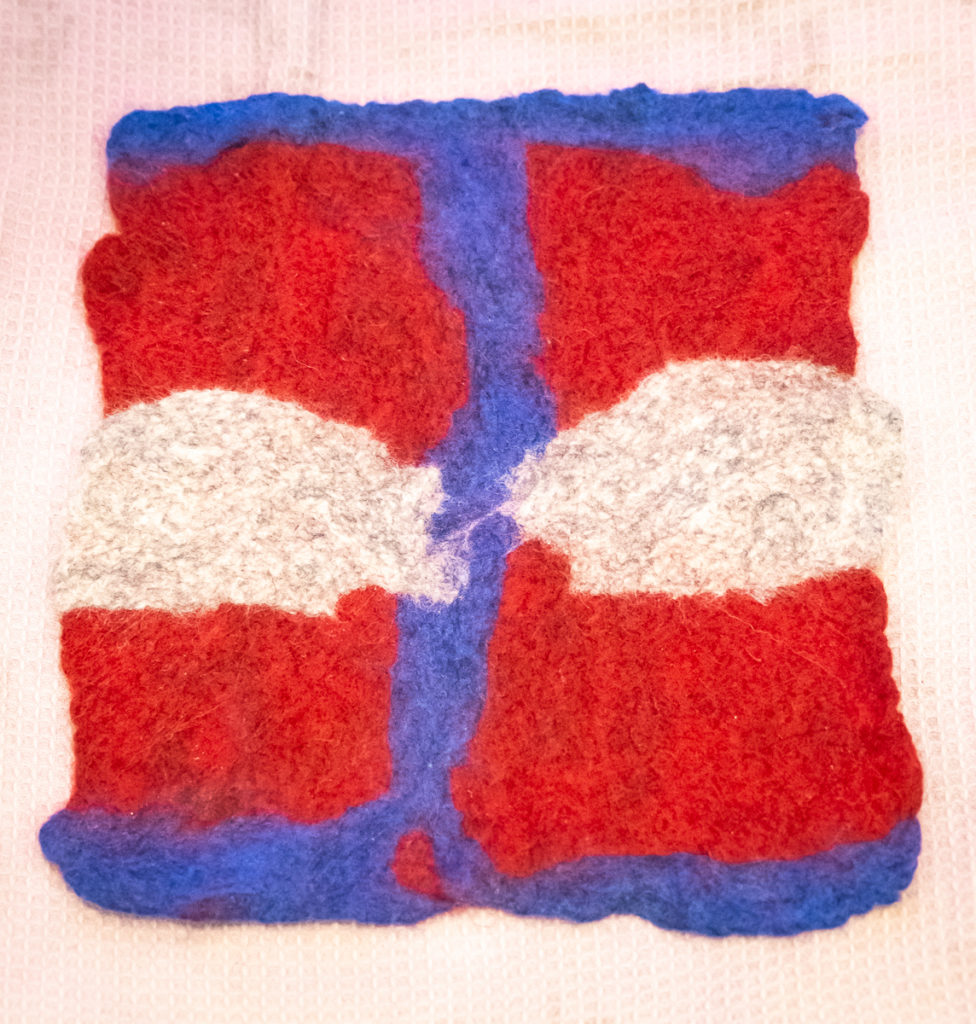
In the end, my geometric design turned out a bit wonky – but that is the nature of Ala-kiyiz.
I was very impressed by the designs the others had created (most of which turned out less wonky than mine) and Gulmira’s pomegranates looked amazing!
She was actually going to take it home and work on it a lot more – rolling it until it had shrunk down to about 1/4 size so she could make earrings out of it!
Recommendation
In my opinion, the best souvenirs are either the ones you purchase directly from an artisan, or ones that you make yourself under the instruction of an artisan. The Felt Workshop hosted by Bishkek Walks is a wonderful opportunity to create your own felt product using a traditional Kyrgyz technique, and is a wonderful way to experience first hand the challenges involved in creating these impressive everyday items. I can’t imagine making a whole carpet like this!

Time: ~3hrs or a bit longer, depending on the group.
Cost: About USD$10 – $22 depending on number of people.